How to cook ribs in the oven the healthy way
Preparing delicious meat at home doesn’t need a grill or heavy oils. You can get tender results using your kitchen appliance for a healthy meal. This method lets you control what goes into your food while keeping the flavors rich.
Choosing easy oven ribs makes dinner easy for busy families. By trimming fat and using dry rubs, you make a healthy dish that’s still tasty. Learn how easy roasting can turn these cuts into a delicious meal.
Table of Contents
Key Takeaways
- Focus on lean meat cuts to reduce overall calorie intake.
- Utilize dry spice rubs instead of sugary bottled sauces.
- Slow roasting ensures tender texture without added fats.
- Remove visible fat before cooking to improve nutritional value.
- Pair your meal with fresh vegetables for a balanced plate.
Understanding the Nutritional Profile of Ribs
Enjoying ribs can be healthier if you know their nutritional profile. Both pork and beef ribs can fit into a balanced diet. It’s all about making the right choices.
The Difference Between Pork and Beef Ribs
Pork ribs have more fat than beef ribs but taste richer. Beef ribs are leaner and can be just as tender with the right cooking.
Pork ribs are fattier, making them tender and flavorful but higher in calories. Beef ribs can also be tender with the right cooking methods.
Managing Saturated Fat Content
Reducing saturated fat in ribs is important for a healthier option. Trimming excess fat and choosing leaner cuts can lower fat content.
Choosing the right cooking method also helps. Oven-baking lets fat drip away, reducing fat intake.
Why Oven Cooking is a Healthier Alternative to Frying
Oven cooking is better than frying because it uses little to no oil. This method cuts calories and keeps nutrients in the meat.
Cooking ribs in the oven makes them tender and flavorful without extra oil. It’s a healthier way to enjoy your best ribs recipe.
Selecting the Best Quality Ribs for Your Health
Choosing the right ribs is the first step to making tender and healthy homemade ribs in the oven. The nutritional value and quality of the ribs are key when aiming for delicious results.
To make a smart choice, you need to know what to look for. Here are important factors to consider:
Identifying Leaner Cuts
Starting with leaner cuts is a good idea. Ribs vary in fat content, with some being naturally leaner. For example, back ribs have less fat than spare ribs. Choosing leaner cuts can greatly reduce the fat in your meal, making it healthier.
The Benefits of Grass-Fed and Pasture-Raised Options
Grass-fed and pasture-raised ribs have more health benefits than grain-fed ones. They have better fatty acids, including omega-3s and CLA, which are good for the heart. A study found that grass-fed beef, lamb, and pork have a healthier fatty acid profile.
“The fatty acid composition of grass-fed animals is generally considered more healthful.”
Checking for Added Solutions and Preservatives
It’s important to check the packaging or ask your butcher about added solutions or preservatives. Some ribs may have salt solutions or preservatives to improve flavor and shelf life. Choosing ribs without added preservatives or solutions can make your homemade ribs healthier.
By paying attention to these factors, you can pick high-quality ribs. These ribs will not only taste great but also support your health goals.
Preparing Your Ribs for the Oven
Getting your ribs ready for the oven is key to perfect results. The right steps make them tender and flavorful. This ensures they cook just right.
Removing the Membrane for Better Texture
Removing the membrane from the ribs is a must. This membrane can make the ribs tough. To remove it, slide a knife under and gently pry it away from the bone.
Once you have a good grip, pull it off in one piece. This lets seasonings get deeper into the meat. It also makes the ribs tender and easy to pull off the bone.
Trimming Excess Fat Without Losing Flavor
Some fat is good for keeping ribs moist. But too much can make them greasy. Trimming excess fat is important but tricky to avoid losing flavor.
Use a sharp knife to carefully cut away thick fat layers. Aim to trim fat to about 1/4 inch thickness. This balances healthiness with juiciness.
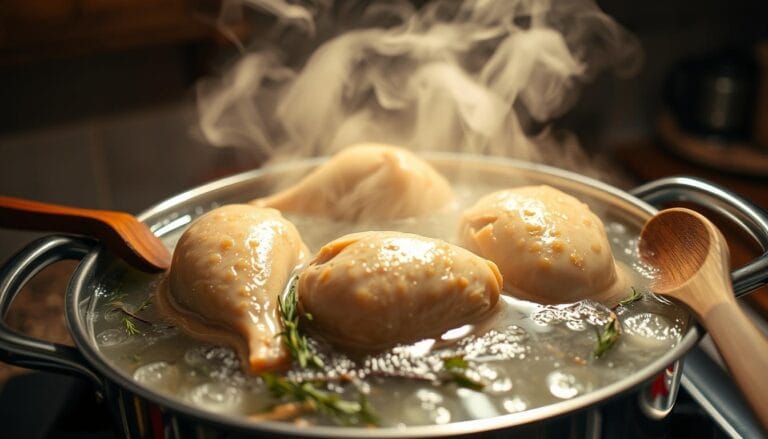
The Importance of Proper Thawing Techniques
Thawing frozen ribs properly is crucial for even cooking. The safest thawing method is in the refrigerator. It takes about 24 hours for every 5 pounds of ribs.
Or, you can thaw ribs in cold water. Change the water every 30 minutes to keep it cold. Never thaw at room temperature to avoid bacterial growth.
| Thawing Method | Time Required | Safety Considerations |
|---|---|---|
| Refrigerator Thawing | 24 hours per 5 pounds | Safe and recommended |
| Cold Water Thawing | 30 minutes per pound | Change water every 30 minutes |
| Room Temperature Thawing | Not recommended | Risk of bacterial growth |
Crafting a Healthy Homemade Dry Rub
Make your ribs delicious with a homemade dry rub. Store-bought rubs often have too much sugar and salt. Making your own lets you choose what goes in.
Avoiding Refined Sugars in Commercial Rubs
Commercial dry rubs often have refined sugars. Using natural sweeteners like honey or maple syrup is a better choice. They add sweetness and flavor.
Using Natural Spices for Maximum Flavor
Natural spices are key for a great dry rub. Spices like paprika, garlic powder, and onion powder add flavor without salt or sugar. Try different spices to find your favorite.

Balancing Salt Intake with Herb-Based Seasonings
Some salt is good, but too much is bad. Herb-based seasonings like thyme, rosemary, and oregano add flavor without salt. Mixing spices and herbs keeps your ribs tasty but not too salty.
| Ingredient | Function | Healthier Alternative |
|---|---|---|
| Refined Sugar | Adds sweetness | Honey, Maple Syrup |
| Excessive Salt | Enhances flavor | Herbs like Thyme, Rosemary |
| Artificial Spices | Adds flavor | Natural Spices like Paprika, Garlic Powder |
By making your own dry rub, you avoid unhealthy stuff. You also get a unique flavor that makes your ribs delicious.
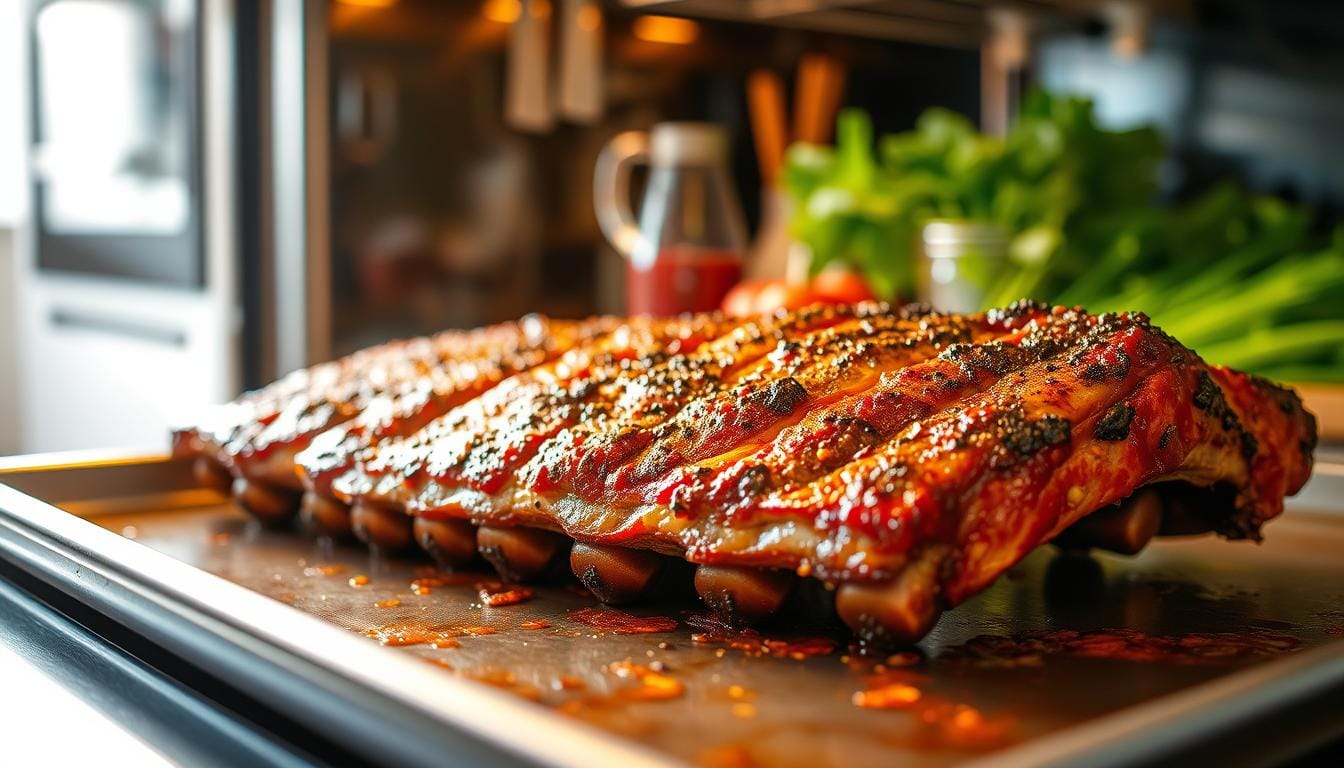
Mastering the Art of Cooking Ribs in the Oven
To get tender and tasty oven-cooked ribs, you need to know a few tricks. Cooking ribs in the oven is a detailed process. It involves watching the temperature, moisture, and internal temperature closely. By using the right methods, you can make ribs that are not only tasty but also tender and safe.
Setting the Ideal Temperature for Slow Cooking
The secret to tender ribs is slow cooking at a low temperature. Preheat your oven to 275°F (135°C) for slow cooking ribs. This low heat breaks down the meat’s connective tissues, making it tender and easy to chew.
As a renowned chef once said,
“The secret to tender ribs is in the slow and low cooking method. It’s not just about the temperature, but about the patience you put into cooking them.”
The Role of Foil Wrapping in Moisture Retention
Wrapping your ribs in foil during cooking is called the “Texas Crutch.” It keeps moisture in and makes the ribs tender by trapping steam. Wrap your ribs in foil after 2 hours of cooking, then cook for another 30 minutes to an hour.
| Cooking Method | Moisture Retention | Tenderness |
|---|---|---|
| Unwrapped Ribs | Low | Moderate |
| Foil Wrapped Ribs | High | High |
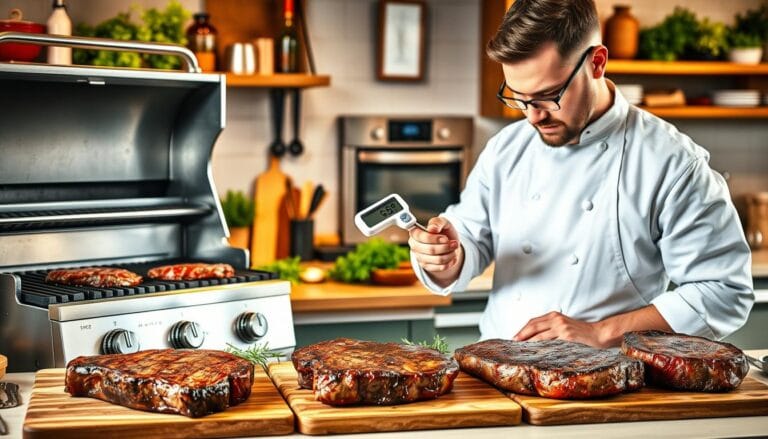
Monitoring Internal Temperature for Safety and Tenderness
It’s important to check the ribs’ internal temperature. This ensures they are both safe to eat and tender. For pork ribs, the internal temperature should be at least 160°F (71°C). For beef ribs, it should be 145°F (63°C). Use a meat thermometer, especially in the thickest part of the ribs.
By mastering the art of cooking ribs in the oven, you can enjoy delicious, tender, and safe-to-eat ribs every time. Remember to set the ideal temperature, use foil wrapping to retain moisture, and monitor the internal temperature for the best results.
Creating a Nutrient-Dense Homemade Barbecue Sauce
Making your own barbecue sauce is a great way to make oven-cooked ribs healthier. Store-bought sauces often have high-fructose corn syrup, too much salt, and preservatives. These can hurt the health benefits of cooking ribs in the oven. By making your sauce, you can choose what goes into it.
Swapping High-Fructose Corn Syrup for Natural Sweeteners
One key step is to swap high-fructose corn syrup for natural sweeteners. Honey, maple syrup, or dates are good choices. They add sweetness without the bad stuff found in refined sugars. Start with a little and adjust to taste, as they can be sweeter.
Benefits of Natural Sweeteners: Natural sweeteners cut down on refined sugar intake. They also bring unique flavors to your sauce. Honey gives a caramel-like taste, while maple syrup adds a subtle earthy sweetness.
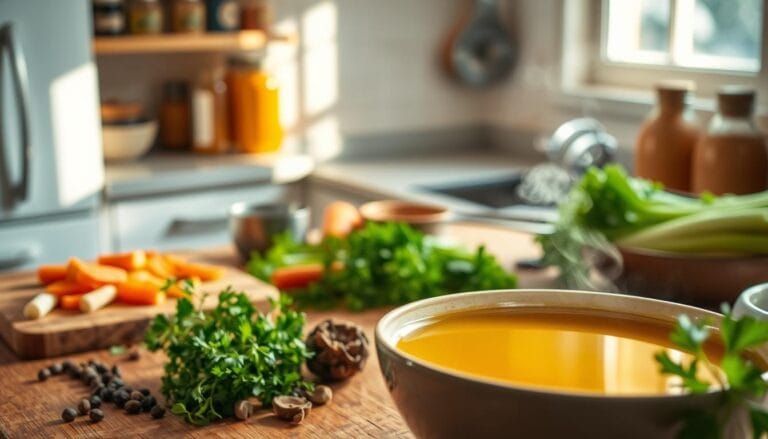
Utilizing Fresh Ingredients Like Tomatoes and Garlic
Fresh ingredients like tomatoes, garlic, and onions are essential for a tasty and healthy sauce. Tomatoes are full of lycopene, an antioxidant that’s good for you. Garlic has compounds that fight bacteria and viruses, making your sauce even healthier.
To use these ingredients, sauté minced garlic and onions until they’re soft and smell great. Then, add crushed tomatoes or fresh tomato puree. This mix gives a tangy flavor that’s both healthy and tasty.
Controlling Sodium Levels in Your Sauce
It’s also important to keep sodium levels low in your sauce. Many commercial sauces are too salty, which is bad for those watching their salt intake. Use herbs and spices for flavor instead of salt. Choose low-sodium tomato products and add salt carefully.
Tips for Reducing Sodium: Try different herbs like oregano, basil, and thyme to add flavor without salt. Citrus juice, like lemon or vinegar, can also boost flavor without adding salt.
Techniques for Achieving the Perfect Texture
To enjoy tender and juicy ribs, it’s key to know the right techniques. The texture of your ribs can greatly affect your dining experience. With the right methods, you can achieve that tender, fall-off-the-bone quality everyone loves.
Low and Slow Method Explained
The low and slow cooking method cooks ribs at a low temperature for a long time. This method breaks down the meat’s connective tissues, making it tender and easy to chew. To use this method, cook your ribs at 275°F to 300°F for several hours. This slow cooking ensures the meat is cooked evenly and stays moist.
When to Uncover for Caramelization
While the low and slow method tenderizes ribs well, uncovering them towards the end adds a caramelized crust. Uncovering the ribs for the last 20-30 minutes allows the surface to dry and develop a rich, caramelized flavor. This step enhances the texture and adds a depth of flavor that complements the tender meat.
Resting Your Ribs for Optimal Juiciness
After cooking, it’s important to let the ribs rest before serving. Resting allows the juices to spread throughout the meat, making each bite juicy and flavorful. Wrap the cooked ribs in foil and let them rest for 10-15 minutes before cutting and serving. This simple step greatly improves the quality of your ribs.
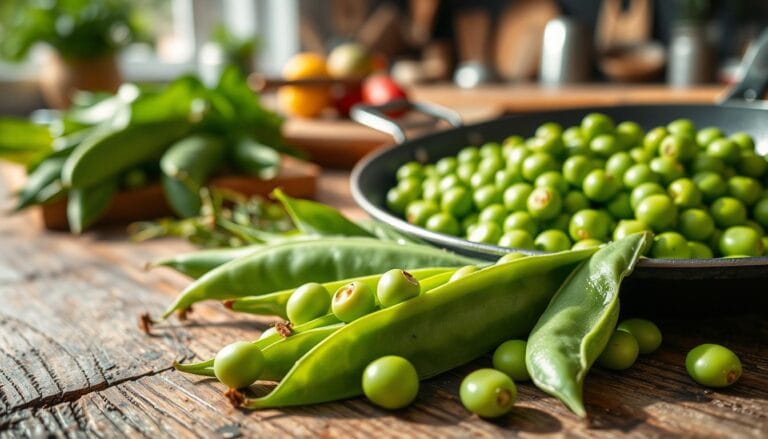
Pairing Your Ribs with Healthy Sides
To make your best ribs recipe even better, try pairing them with healthy sides. These sides add texture, flavor, and nutrients to your meal.
Choosing Nutrient-Rich Vegetable Sides
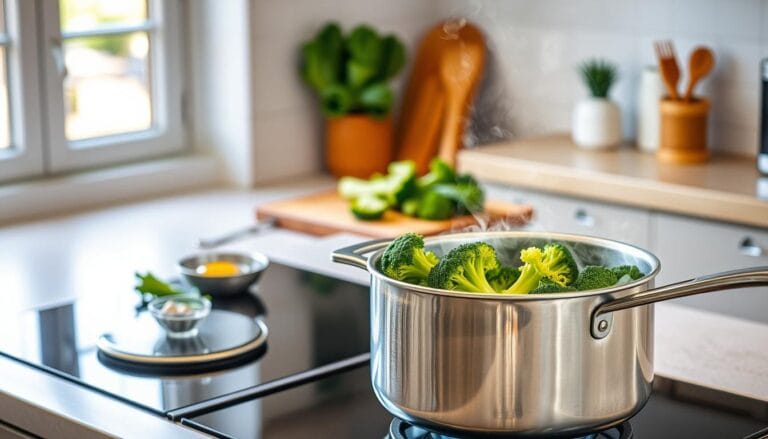
Start by adding colorful vegetables as sides. Roasted or grilled veggies like bell peppers, zucchini, and carrots are tasty and full of vitamins and antioxidants.
Roasting veggies brings out their sweetness, which pairs well with ribs. Just toss your veggies with olive oil, salt, and herbs, then roast until tender.
Replacing Traditional Heavy Starches
Heavy sides like mashed potatoes or white rice are high in carbs and calories. Try healthier options like quinoa or brown rice instead. They’re full of fiber and nutrients.
Quinoa is a complete protein and can be made in many ways. Try it as a salad with roasted veggies or as a simple pilaf.
Balancing the Meal with Fresh Salads
A fresh salad can offer a nice contrast to the richness of ribs. Choose a mix of greens like kale, spinach, and arugula. Add sliced fruits or nuts for extra flavor and texture.
A simple vinaigrette with olive oil and lemon juice is a great dressing. It adds a tangy flavor without too many calories.
| Side Dish | Calories per Serving | Fiber Content |
|---|---|---|
| Mashed Potatoes | 150-200 | 2-3g |
| Quinoa | 150-200 | 5-6g |
| Brown Rice | 110-150 | 3-4g |
| Roasted Vegetables | 50-100 | 4-6g |

Common Mistakes to Avoid When Baking Ribs
To get tender and flavorful oven-baked ribs, you must avoid some common mistakes. It’s easy to end up with dry, over-seasoned, or charred ribs. Knowing these pitfalls helps ensure your ribs are perfect every time.
Preventing Dryness Through Proper Sealing
Dryness is a common problem with baked ribs. Sealing the ribs properly during cooking is key. Use foil to wrap the ribs, which helps keep moisture in and makes them tender.
Make sure to seal the ribs tightly in foil. This creates a steamy environment. It helps break down the meat’s connective tissues, making the ribs tender and juicy.
Avoiding Over-Seasoning with Sodium-Heavy Blends
Don’t overdo it with sodium-heavy blends when seasoning your ribs. Too much salt can make them inedible. Use a balanced dry rub with spices and herbs instead.
Here’s a simple guide to balancing your dry rub:
| Ingredient | Function | Example |
|---|---|---|
| Salt | Enhances flavor | Sea salt, kosher salt |
| Sugar | Balances saltiness | Brown sugar, honey |
| Spices and Herbs | Adds depth and complexity | Paprika, garlic powder, thyme |
Managing Cooking Times to Prevent Charring
Cooking time is crucial when baking ribs. Overcooking can cause charring and a tough texture. Keep an eye on the ribs’ internal temperature and adjust cooking time as needed.
For a general guideline, bake ribs at 275°F (135°C) for 2-3 hours. They should reach an internal temperature of 160°F (71°C). Use a meat thermometer to check for doneness and adjust cooking time based on the ribs’ thickness and your oven’s performance.
Storing and Reheating Your Leftover Ribs
You’ve learned how to cook ribs in the oven. Now, let’s keep them delicious when you have leftovers. Storing and reheating them right is key for quality and safety.
Safe Cooling and Refrigeration Practices
Cooling your ribs fast stops bacteria from growing. Cool them down within two hours of cooking. Divide them into smaller parts and use shallow containers for faster cooling.
Once cooled, put them in the fridge at 40°F (4°C) or below.
Reheating Methods That Maintain Moisture
Reheating ribs can be tricky to keep them moist. Wrap them in foil and heat them in the oven at 250°F (120°C) for 20-30 minutes. This keeps them moist.
You can also add barbecue sauce or broth to the foil for extra moisture.
Freezing Ribs for Future Healthy Meals
Freezing is a great way to enjoy ribs later. Cool them down first. Then, wrap them in plastic or foil and put them in a freezer-safe bag.
Label the bag with the date and what’s inside. Frozen ribs last 3-4 months. Thaw them in the fridge overnight and reheat as before.
| Method | Description | Tips |
|---|---|---|
| Cooling | Divide into smaller portions and use shallow containers. | Cool within 2 hours of cooking. |
| Reheating | Wrap in foil and heat in the oven at 250°F (120°C). | Add barbecue sauce or broth to maintain moisture. |
| Freezing | Cool, wrap tightly, and store in a freezer-safe bag. | Label with date and contents; store for up to 3-4 months. |
Conclusion
Now you know how to make perfect oven ribs. Choose leaner cuts, make a healthy dry rub, and slow cook them. This way, you get tasty ribs that are good for you too.
Cooking ribs in the oven is healthier than frying. With the right methods, you can make them tender and full of flavor. Try out different seasonings and homemade sauces to find your favorite.
Follow the tips in this article to make amazing oven ribs. Get creative and enjoy the delicious flavors of perfectly cooked ribs.